Publication of new sources#
Data preparation#
Before adding a new source to MapX, it is necessary to prepare the spatial dataset to be compatible with the application. A geographic information system (GIS) software such as QGIS (cross-platform, free & open-source) or ArcGIS Desktop can be used to check the compatibility of your spatial dataset, to edit it and to convert it into another format if necessary.
Users should pay attention that:
the geometries of the spatial dataset are valid
the attribute table is encoded in UTF-8
the columns of the attribute table are associated to the right data type (e.g., text attributes don’t offer the same styling possibilities as numerical ones)
the dataset is stored in a format supported by MapX
Warning
Dates must be stored in one of two formats YYYY-MM-DD or
YYYY/MM/DD. If not, dates will be imported as text into
the MapX database.
Note
If your data has a time component and you want to
activate the time-slider in MapX, you will need to preformat your
dataset before importing it. To be integrated in a time-slider, dates
must be stored in a column named mx_t0 and time intervals must be
stored in columns mx_t0 (start date) and mx_t1 (end date). The
format of these columns must be Unix
epoch (in seconds).
Relevant information for converting from and to Unix epoch can be found
at this address: https://www.epochconverter.com/ . Alternatively, it is
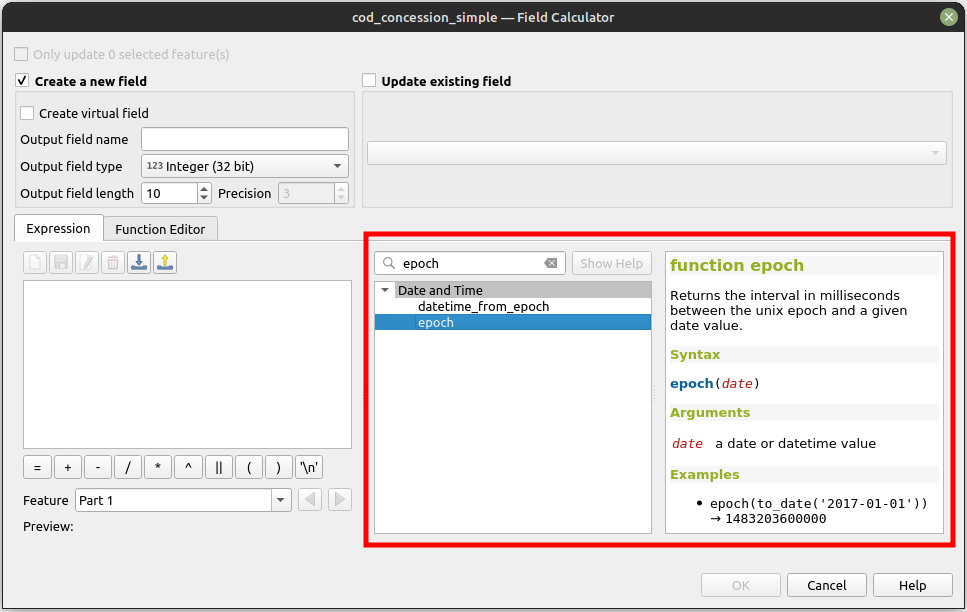
possible to perform date <-> epoch conversions using the Field
Calculator
in QGIS .
Supported formats#
Here is a list of formats supported by MapX for importing and exporting data:
Format |
Import: module |
Import: drag and drop |
Export |
|---|---|---|---|
GeoPackage (vector only) |
yes |
no |
yes |
GeoJSON |
yes |
yes |
yes |
ESRI Shapefile |
yes 1 |
yes 1,Z |
yes 1 |
SQLite |
yes |
no |
yes |
KML |
yes 1 |
yes 1 |
yes 1 |
GML |
yes 1 |
no |
yes 1 |
GPX |
yes 1 |
yes 1 |
no 2 |
CSV (tabular only) |
yes 1 |
no |
yes 1 |
DXF |
yes 1,3 |
no |
no 2 |
PostgreSQL SQL Dump |
no |
no |
yes |
1 partial support, data could be altered, missing attribute, missing geometry
2 driver error
3 need SRS assignation
Z ESRI Shapefiles being composed of multiple files, it’s necessary
to zip them in an archive to be uploaded with the drag and drop method.
The files (at least: .shp, .shx, .dbf, .cpg & .prj)
should be located at the first level of the archive.
Types of geometry#
The types of geometry supported by MapX are :
Geometry primitives: Point, LineString & Polygon
Multipart geometries: MultiPoint, MultiLineString & MultiPolygon
Note
MapX only partially supports GeometryCollection. For this reason, the MapX team recommends that you do not use this type of geometry to upload your data into the platform.
Data publication#
Note
Sources are linked to the project in which they were uploaded and will only be accessible from there. Be careful to be in the right project when uploading sources.
There are two different ways to upload datasets to a project in MapX:
the Add a source layer tool (also called Upload tool)
the drag and drop method
Upload tool#
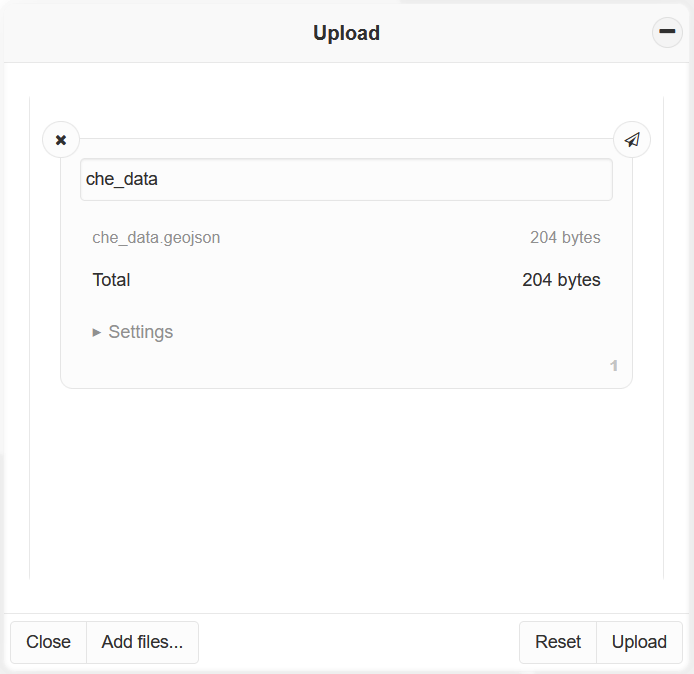
Click on the Add a source layer button in the Toolbox to load the Upload tool in the MapX UI.
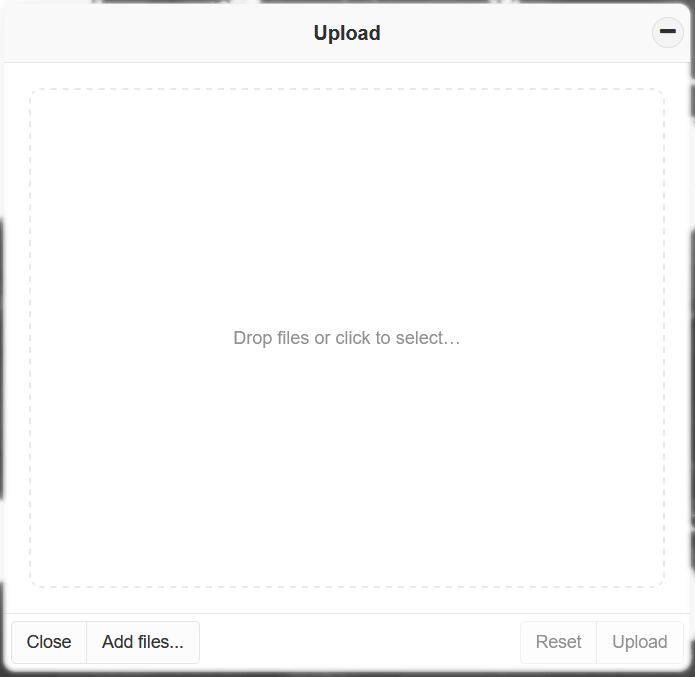
Add the dataset(s) you want to import into MapX. For this, two methods are available (they can be combined):
drag and drop your file(s) from your computer
click on Add files… to open your device file browser and select your chosen file(s)
By default, the name of the dataset is assigned to the source that will be created in MapX. If required, you can edit it before the import.
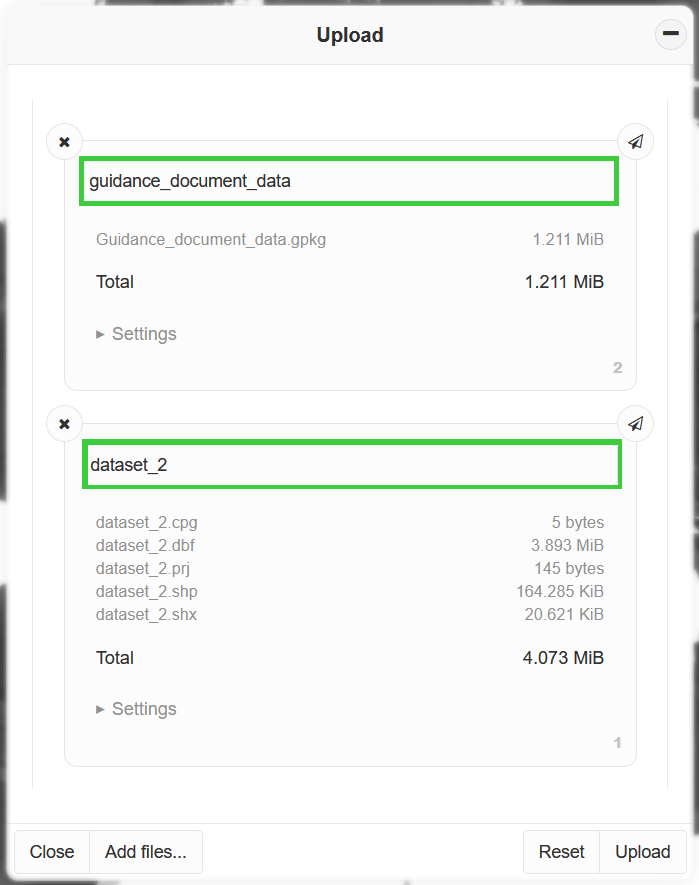
The import of each dataset can be configured by expanding its Settings section:
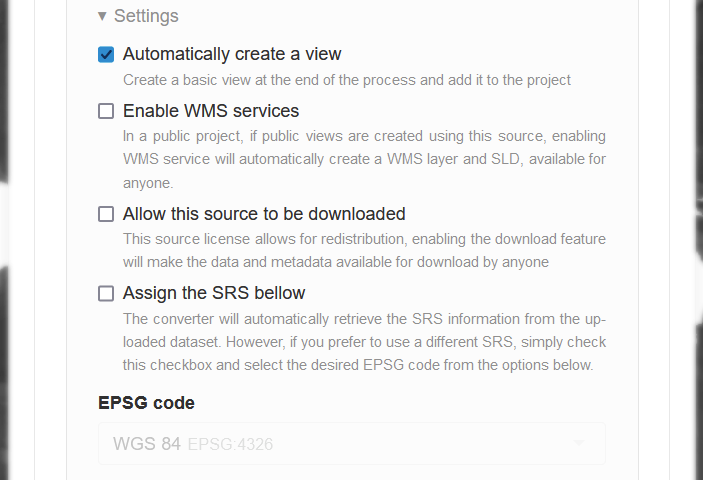
Automatically create a view: creates a preconfigured view during the upload process using the data source. The view will automatically be added at the top of the data catalog.
Enable WMS services: In a public project, if public views are created using this source, enabling WMS service will automatically create a layer and a style (SLD) in the MapX GeoServer .
Allow this source to be downloaded: If the data license allows for redistribution, enabling this option will activate the Download tool for this data source for all users.
Assign the SRS: The upload tool will automatically retrieve the Spatial Reference System (SRS) of the dataset and will reproject it to WGS 84 (EPSG:4326), the SRS used to store all data in the MapX database. If you want to bypass this behavior, you can enable this option and manually select the SRS corresponding to your dataset.
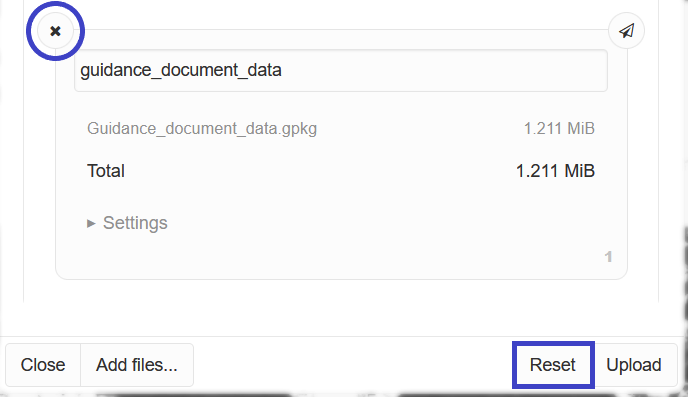
If needed, you can remove a dataset from the Upload tool by clicking on the X button located in its upper left corner. Moreover, it is possible to empty the entire Upload tool by clicking on the Reset button.
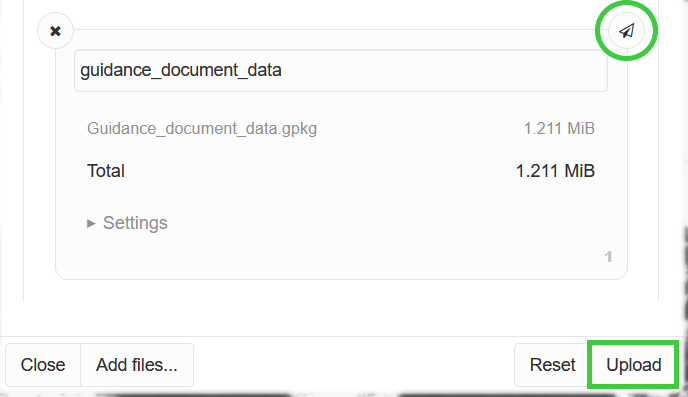
Once configured, datasets can be imported into MapX one by one by clicking on the Send button located in their upper right corner or in bulk mode by clicking on the Upload button.
The import status can be consulted from the MapX notification panel:
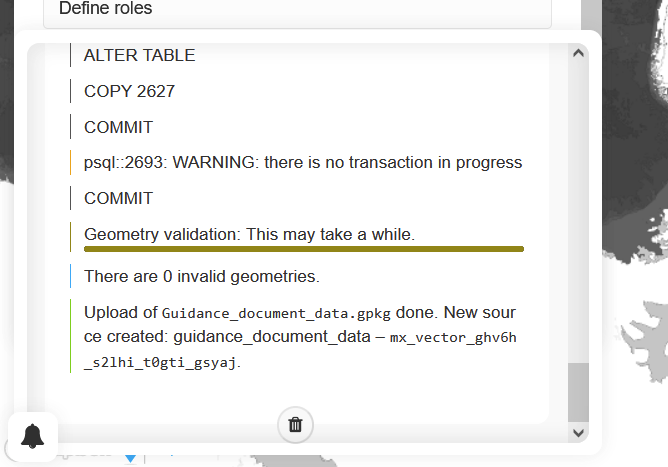
Once the upload process is completed, you will be notified by email. In the event of failure, the error is returned in the body of the email.
Drag and drop#
Note
The drag and drop method only allows to upload spatial datasets with a SRS equal to WGS 84 (EPSG:4326).
Drag and drop your file from your computer to the map in MapX.
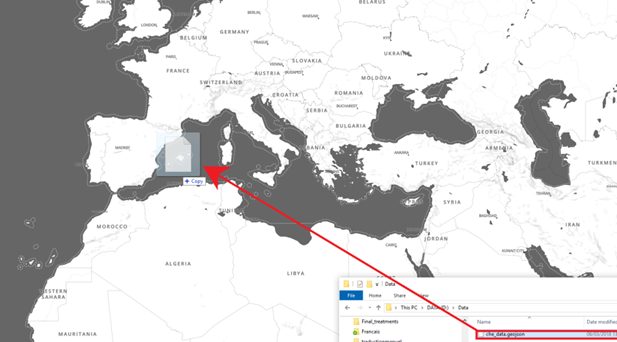
A progress bar indicates the status of loading.

Once your file is loaded, it will appear in the data catalog on top of the list of views. An orange circle on the left side of the view indicates that its type is Local GeoJSON. This means that the data linked to the view has been temporarily stored in the local storage of your web browser and not in the MapX database.

To add your dataset as a source to MapX (your dataset will be stored in the MapX database):
click on the view corresponding to your dataset
click on Upload.

The Upload tool automatically opens in the MapX interface with your dataset (Local GeoJSON) included. See the Upload tool section above for the rest of the operations.
Once your dataset has been added to the MapX database and to avoid duplicates, you can delete the Local GeoJSON (orange circle) by clicking on Delete.

